Showing posts with label cooking. Show all posts

Monday, September 3, 2012

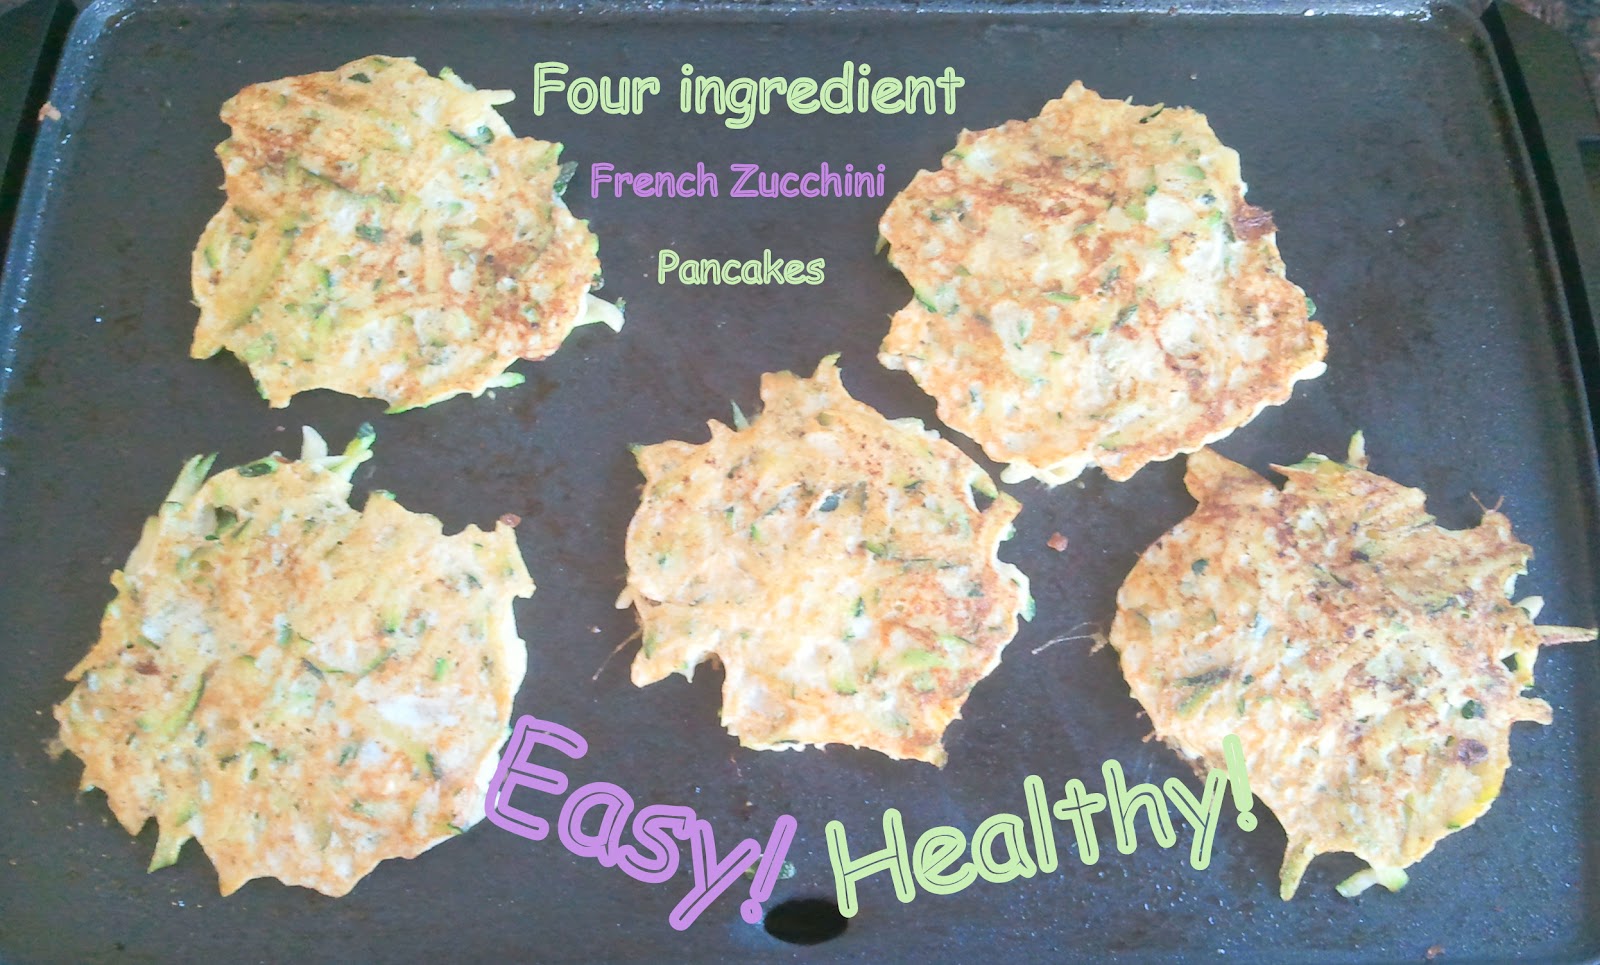
Zucchini Zucchini Zucchini!


This must be the year of the zucchini, because I have had them coming out of my ears! If you're in the same boat then this is the post for you. :) This is also the post for you if you're looking for a way to please crowds of hungry people with healthy delicious food! Never was I more delighted than when I whipped up this recipe and my kids not only ate them but devoured them and begged for more!(insert shock and awe) Vegetables. As breakfast food. Can it get better than that? 
INGREDIENTS: 
  • Zucchini 
  • eggs
  • cinnamon
  • vanilla extract
DIRECTIONS:

  • Shred your zucchini, skin and all
  • Heat a skillet to around 350 degrees Fahrenheit. (you just don't want to start them in a cold pan, so just the high setting on the stove works)
  • Whip two eggs along with a dash or two of cinnamon and a teaspoon of vanilla extract french toast batter style in a small bowl (minus the milk of course)

  • Add the shredded zucchini to the mixture and use a spoon or your hands to toss the shredded zucchini and get it thoroughly coated. It will be runny ooey gooey, and that's okay. The eggs in it will cause it to all stick together beautifully when cooked. 
  • Thoroughly grease the pan/skillet with your choice of butter or oil. You don't want these babies to stick, and they will if they're not greased up. 
  • Simply grab or spoon a nice ping pong ball size amount of battered zucchini onto your skillet and then flatten to round pancake thickness.
  • Listen to that delectable sizzle. :) check the cakes and flip them when they reach golden brown in color. If your first flap jack comes out crunchy lower your temp and cook longer. My favorite ones were very slightly aldente, but your crowd might not appreciate that like mine did. 
  • Enjoy! This recipe is friendly to doubling, tripling, adding different flavor extracts and any other artistic ambition, just post the different things you tried and how they turned out below in the comment section! 
p.s. Our favorite topping for this was home made blueberry syrup. Which is just two cups brown sugar to one cup water along with one cup fresh blueberries brought to a boil and then a squirt of maple extract added. Okay, so it's blueberry maple syrup but great on the zucchini cakes none the less. ;)
 
Happy Munching! 
  

Wednesday, July 18, 2012

What a Watermelon!


Today I wanted to show you how easy it is to cut and arrange a watermelon for special occasions. :) I had no idea how hard I was making cutting watermelon up on myself until I tried this new technique: 
Cut the end caps off the melon, place on one of the flat ends on a cutting board, and then slice the rind off vertically. This method wastes the least watermelon, makes the melon easiest to handle, and then presents you with an opportunity to craft with it!
My watermelon after cutting with above technique and then cutting into rounds

leaves and flower center cut out
Fourth of July watermelon (this was before I learned the WAY easier way to cut the watermelon up)

more petals and leaves

 One of my favorite watermelon ideas (off Pinterest of course!) was to cut the melon into rounds like in the above pic, and then use cookie cutters on it to cut pieces. This is a fun way to make it special for any occasion. As you can see the possibilities are limitless. For my fun little flower tray all I did was use a Christmas holly leaf cookie cutter for the leaves, I had an oval scalloped wreath looking cookie cutter that I bent to be tear shaped for the petals, and then I used a biscuit cutter for the centers!  Arrange aesthetically to your fancy.  Also, to add a little more detail and some whimsy I used a wooden shishkabob skewer  to carve spirals in the flower center, and details into the petals and leaves. Wala!
  Short tutorial, I know, but it's pretty darn simple, so to go on further would be rambling! Happy cutting! ....okay that sounded a little sadistic, so, happy watermelon cutting! :) 

Oh! One last thing- here is a great link to how to pick an amazing watermelon too. :  http://fifteenspatulas.com/2011/04/25/how-to-pick-a-superstar-watermelon/


Tuesday, July 17, 2012

Why did I EVER buy yogurt from the store?!


Making your own yogurt is the easiest thing you'll ever do, and after you've made it, you'll never want to buy it from the store again! 

Ingredients &  Supplies

  • Large pan or dutch oven (I use my 6 quart stainless steel pan and it works great)
  • Food/Beer thermometer that goes as low as 120 degrees Fahrenheit, and up to at least 185 degrees Fahrenheit
  • A gallon of milk- 2% works well, but you can use any grade you'd like
  • At least 2 TBS of store bought yogurt, or if you choose you could also buy plain yogurt culture from a specialty store. I just found it easier to pick up a 50 cent container of Chobani Greek yogurt, and use that.The higher the culture count and the more different types of cultures the better.
  • A cooler- see directions below if you don't have a cooler *
  • Air tight containers to put the yogurt in- I used mason jars w/lids & rings the first batch, and large sour cream containers the second batch, both worked just fine. The most important thing is that it will keep the yogurt water tight when it's in the cooler. I had one jar whose lid was a little loose and it was an ugly sight the next morning when I opened that particular jar. (Think sippy cup of milk left in the sun)
Directions

  1. Pour your whole gallon of milk into the pan and heat slowly to 185 degrees Fahrenheit checking frequently with the thermometer so as not to over heat and definitely do not allow to boil. 
  2. As soon as milk has reached the proper temp remove the pan off the stove and put in a cool bath- I filled my sink with cold tap water and added ice cubes to it, and that worked great.   
  3. Again with the thermometer,  monitor the milk temperature until the temp drops to 120 degrees Fahrenheit. 
  4. Take a small bowl full of the 120 degree milk and add your 2 TBS yogurt to it (the amount of yogurt is not exact, so don't worry about being precise) and stir it into a melted slurry.
  5. Pour contents of the bowl back into the milk pot and stir well.
  6. Pour the pan of warm milk into your containers and put the lids on
  7. Put your containers into your cooler and cover the containers to the fill level with the hottest tap water you can get, then shut the lid! 
  8. Leave it to set for 3-10 hours, yes this is a broad range of time, so the key is in your taste. Like tart yogurt? leave it in there the longest amount of time or over night, the longer it sets the more tart it will be. Take it out after only 3 hours for sweeter mellower flavored yogurt. However if it looks runny still when you check it after 3 hours (like mine did on one batch) leave it in there until it at least looks more gelatinous. 
* if you don't have a cooler,  you can also heat a tea kettle of water up to steamy and boiling and then place the kettle in the center of a large box and place your containers around, but not touching the kettle. Then place towels all around the box and containers to kind of create a sauna in there for it and leave it to set that way.
Like it?
       I hope you enjoy it as much as we do!!!

Please leave comments below with any questions you might have! :)