Reduce, reuse, recycle junk in your house for craft supplies!!
Today I'm sharing my own version of an idea I stole off pinterest: recycled jeans aprons :) Don't worry, I didn't steal someone else's instructions or pictures, these are all my own, I just stole and modified an idea....much better, right?
 Okay, so it's spring here- if you ignore the six inches of snow anyway, and if you're anything like me you've already started spring cleaning and day dreaming of summer and barbequed food. When cleaning closets I found stacks of old jeans that no one wears, or that have been worn to their limit. So, here are the instructions to turn that into a pile of jean aprons for your kiddos to help in the kitchen, barbeques, and great gifts for all the cooks in the family!
- Step 1- Cut the butt out. Don't you wish you could do that to yourself sometimes? For this I just used a sharp pair of sewing scissors and cut along the back where the crotch seam lined up to give as much length to the apron as possible. I've seen it cut shorter to make smaller cutesier aprons- so this part is up to your taste.


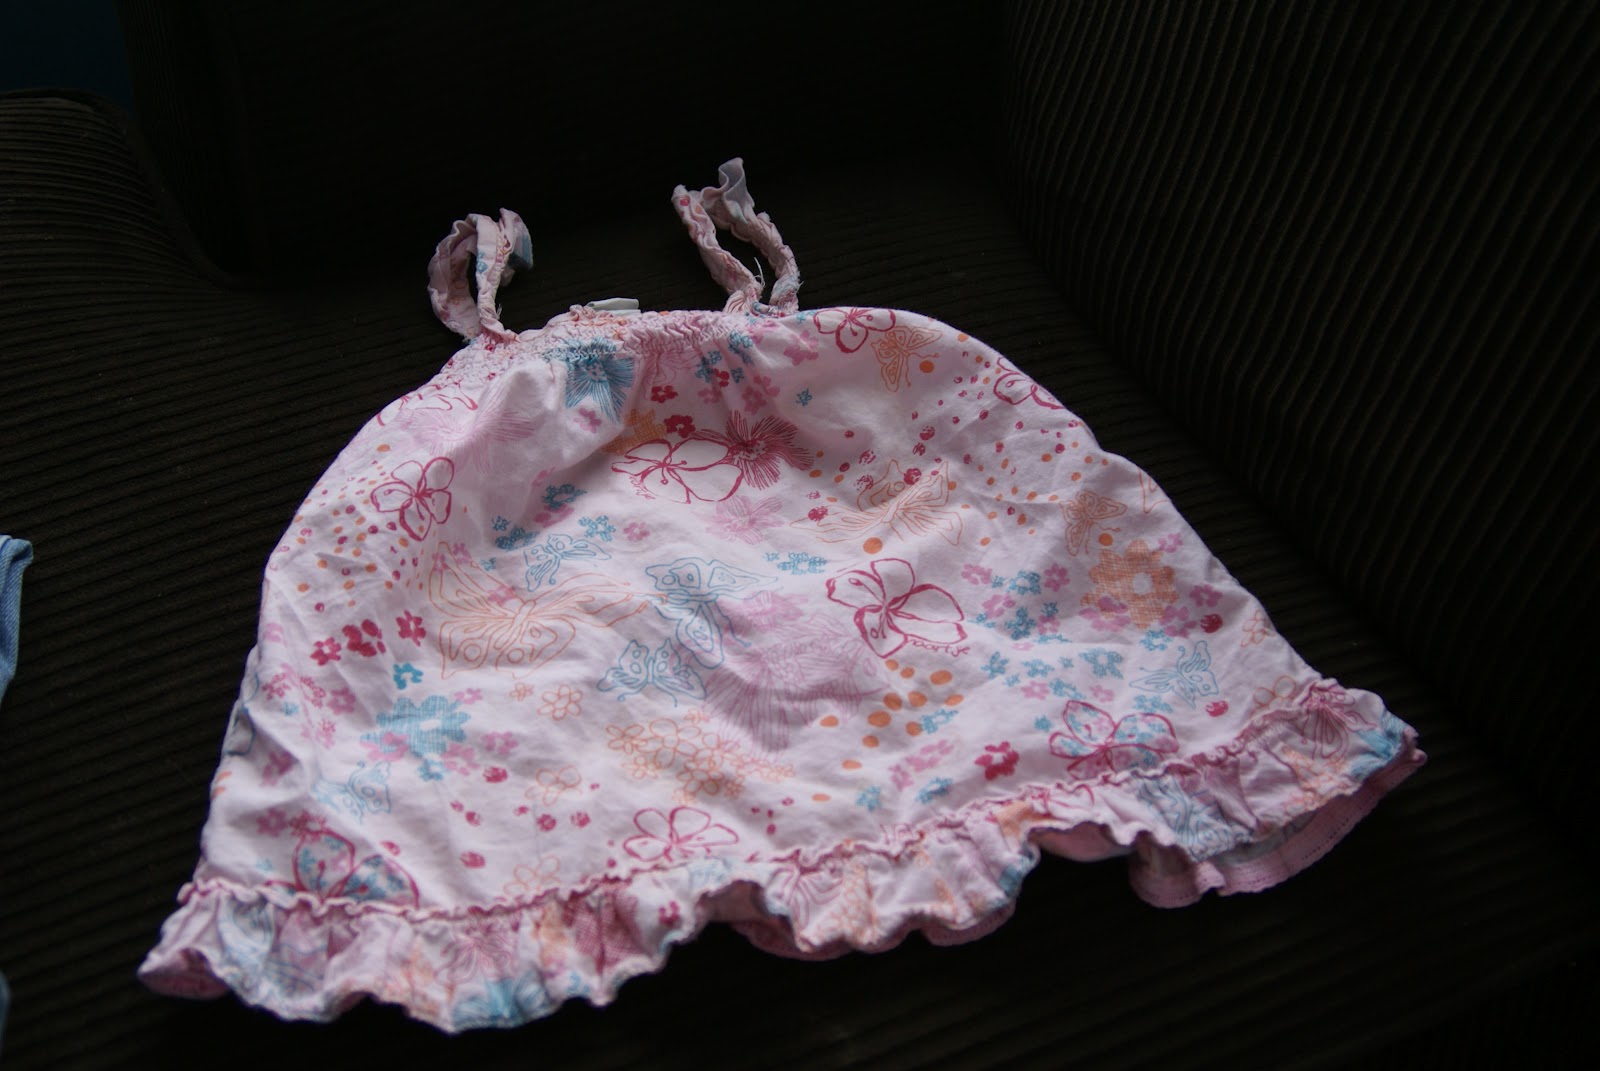
- Step 2- Get your ruffle material ready to go. For this step many of you may want to take the cheaters way out like me, and use an old dress to cut the ruffles off of- or you can pick any material you like and just pin it into a gathered look before sewing to get your ruffles. Since this apron is for my daughter, and she also happened to have a favorite and very worn old dress that no longer fit and had a perfect ruffle edge for the taking, I just stole that. As you can see in the picture below I cut the dress apart and took the ruffled edge along with a small margin of fabric from above for attaching purposes.


- Step 3- Attach the ruffles. :) Once again, because of the of premade ruffles I used, this step was very easy. I just used that little extra margin of material I left on when I cut the ruffles off the dress to tuck behind the jean material and began sewing down the side- jean side down on my sewing machine. When I got to the corner, I wanted it to have a rounded look so I then tucked the ruffle strip to the front side of the jeans folding the little margin over to keep only the ruffle, not the extra material showing. Then I flipped the project to ruffle side down on the machine and kept sewing along that line across the bottom of the jeans. If you are more exacting than I am, feel free to pin this all in place before beginning your sewing...I'm just more of a go by the seat of your pants kind of gal... (har har har) Continue by doing your corner the same on the other side and flipping the ruffling back around to go up the other side. To give it a more finished look when you're done, cut the ruffle to even with the top of the jeans and then fold over slightly and sew along it to give it a clean edge.

 | |
| These looked sloppy after pinning them but I readjusted them as I sewed and made them look neater. |


- Step 4- Make your apron ties. For this part I again salvaged material from the old dress to match the ruffles, but another cute idea would be to use the leftover jean leg material. I just cut the remaining seams and ruffles off of the dress to get to the flattest material and then rolled it over and over into about a 1.5 inch thickness strip. I then used my quilting mat and a rotary scissors to cut one of the edges off the roll, opening up to create about four 2ish inch wide strips. If you have enough material to make two equal length strips, I'd recommend that, my daughters dress just wasn't long enough. Then I took the strips and folded each outside edge into the center, with one edge overlapping just enough to sew a seam down and pinned them in place that way- I used two of the strips per apron tie tucking one into the other. Finally sew down the center fold of each tie and if desired add a secondary embellishing stitch to add an extra touch and extra strength to the ties. I used a fun flower stitch on mine. :) Lastly fold over and sew down a corner on one end to give it the angled ribbon look. All done!
- Step 5- Attach the ties. This is the easiest step, just place the ties behind the ruffles against the jean material and sew them on! I went over it twice to make sure it was a good strong attachment.
- Step 6- Clip all your loose threads, check it over to make sure everything is in place- and find a cute model to show off your finished apron!!!!


